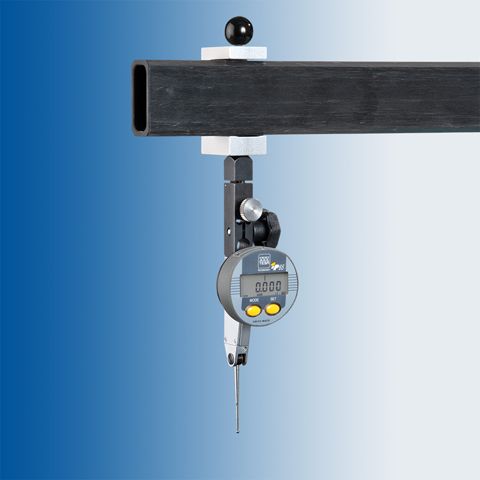
With the TOPO method the test piece usually lies on an accurate test plate and is measured in a predetermined grid point by a measuring tripod, on which a sensor is mounted. The measured values are evaluated in the Software TOPO-soft and illustrated isometrically. It may be the flatness, but also the absolute parallelism.
The direction of the surface to be tested doesn’t Need to be perfectly precise – the software handles this. By default, the flatness is issued by ISO.
For sure the accuracy requirements for the test plate and the tripod used are very high. Please do not hesitate to contact us, we will advise you: Contact.


