The straight-edge has two precisely lapped measuring surfaces. The calibration of the measuring surfaces is carried out horizontally and vertically. This allows you as a customer to have a straightness reference in the absolute highest precision.
Material surface: The test straight-edge is made of high strength and distortion-free aluminium with a very hard surface treatment. The advantages of these materials are its homogenous, fine structure and the fast temperature adjustment. The measuring surfaces are lapped very finely and mirror smooth. In comparison to hard stone they do not show almost any pores. This enables measurements in the highest accuracy range.
Position/feet: Whether for vertical or horizontal application – the test straight-edger always rests on his feet. So the test straight-edge effectively never has contact with the bearing surface, which could damage the straight-edge. The support is always precisely defi
Low deflection: Because of the rectangular tube and the material, the straight-edge has a very low deflection.
Measuring probe: Despite the good qualities it should be taken into account that only probes with a low probe pressure should be used – typically 0.1 to 0.2 N. Older mechanical dial gauges indicate probe pressures about 2 N, which is definitively too much. It could scratch the straight-edge.

Dimensions (L×W×H) without feet
For other dimensions and accuracies please contact us: Contact.

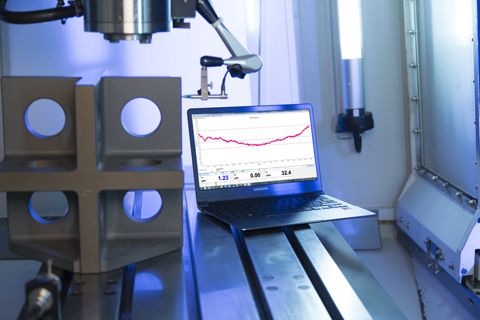
GEO-plus is an easy to handle, efficient measuring and evaluation program for dynamic measurements of machine tools. Dependent on the requirements the measurement values can be read in in proportion to the time or distance.
Details