The SA-50 air injector unit included in delivery generates the necessary vacuum. It is easily connected by standard adaptor to the compressed air supply. The suction force, and hence the SQUARE-line gliding characteristics, are controlled precisely by a throttle valve on the SA-50 air unit.
Various measuring sensors can be mounted in the 8 mm standard borings. The width of the hard stone reference angle and any parallelism errors are compensated by a sprung side-plate. The guideway surfaces are specially finished by a highly sophisticated process to ensure optimal sliding characteristics and wear resistance.


Angle width: Lateral guide surfaces are lapped on minimum 20 mm width each (Parallel side surfaces < 50 µm).
Hard stone angle is not included.
For special solutions and other sizes please contact us: Contact.
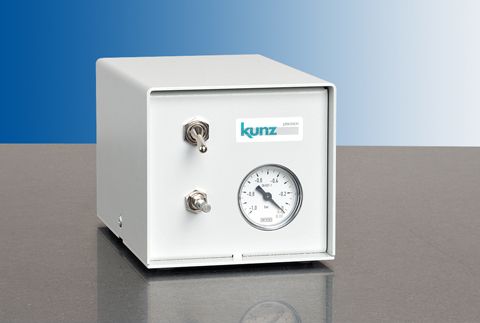
The vacuum processing unit SA 50 generates vacuum that is necessary for the measuring devices SQUARE-line and SQUARE-check.
Details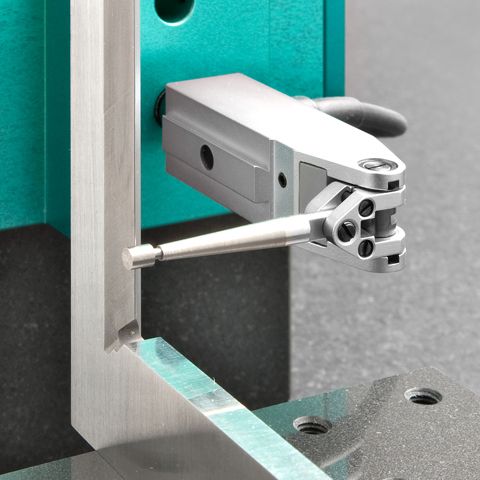
Kunz precision presents a simple but unique solution for measuring knife-edge squares: Hereby the new developed lever gauge GT 31-TK is employed. The measuring probe shows a cylindrical touching surface with two markings in between which the test piece is being probed. In this way, the inner and outer leg of the test piece can be measured quickly and straightforward.
Details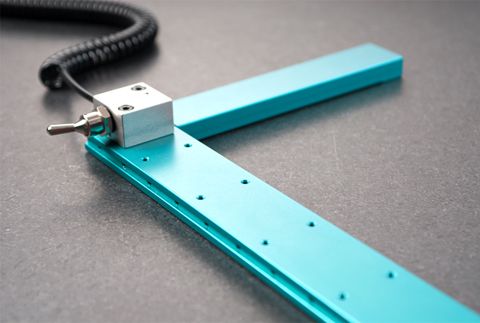
SQUARE-tool is an ingenious device for even faster and more efficient measurements, with vacuum exhaust. The positioning aid is used together with the squareness measuring devices SQUARE-line, SQUARE-plus, SQUARE-control and SQUARE-master.
Details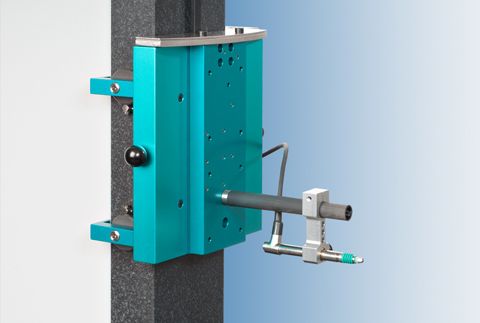
This measuring probe mounting allows to measure inner surfaces with the squareness measuring instruments SQUARE-line and SQUARE-plus in the simplest way. This simple and practical accessory consists of a temperature insensitive extension tube of aluminium or carbon fiber and a probe holder.
Details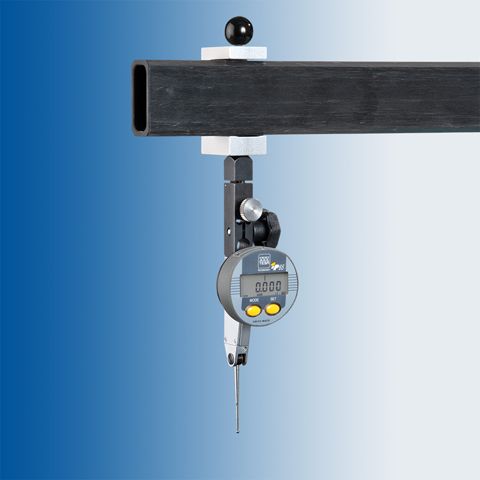
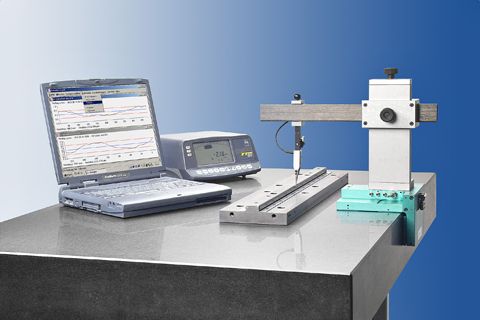
Developed as an efficient software-programme to calibrate reference angles and straight edges, STRAIGHT-soft is an indispensable aid in the measuring laboratory, the workshop or when carrying out measurements on geometry during acceptance of machinery. For testing straightness, parallelism and squareness.
Details