The measuring unit comprises a vertical column of fine-grain hard stone, and a saddle with vacuum air bearing. The base and guideway surfaces are lapped to the highest precision. The entire saddle unit is servo-operated under PC control.
With the appropriate accessories, envelope measurements can be carried out with SQUARE-master. This is the most accurate method for squareness measurements ever.


*Squareness according to ISO: The squareness measurement value applies to a theoretical line approx. 60 mm centrally in front of the guideway surface.
The accuracy values apply to 20 °C and stable temperature conditions (ΔT ≤ 0.2K / 24h).
For special solutions and other dimensions please contact us: Contact.
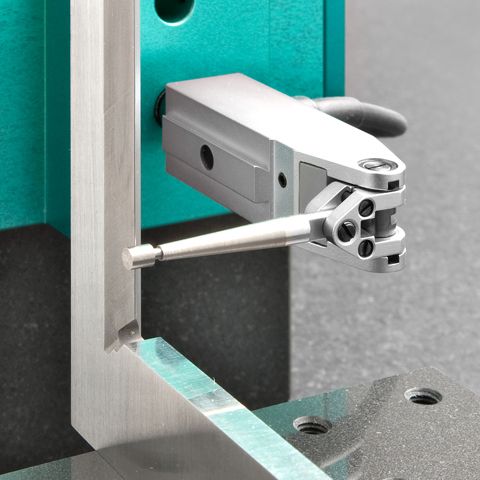
Kunz precision presents a simple but unique solution for measuring knife-edge squares: Hereby the new developed lever gauge GT 31-TK is employed. The measuring probe shows a cylindrical touching surface with two markings in between which the test piece is being probed. In this way, the inner and outer leg of the test piece can be measured quickly and straightforward.
Details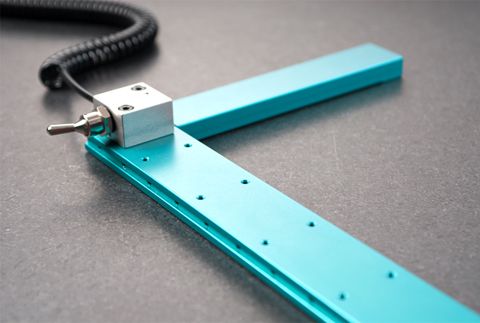
SQUARE-tool is an ingenious device for even faster and more efficient measurements, with vacuum exhaust. The positioning aid is used together with the squareness measuring devices SQUARE-line, SQUARE-plus, SQUARE-control and SQUARE-master.
Details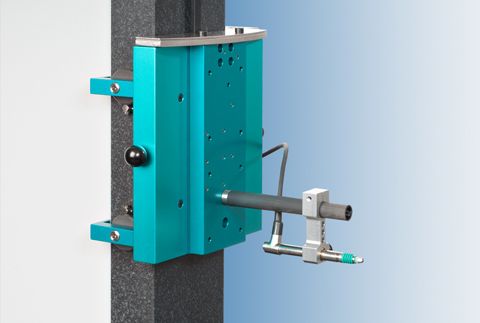
This measuring probe mounting allows to measure inner surfaces with the squareness measuring instruments SQUARE-line and SQUARE-plus in the simplest way. This simple and practical accessory consists of a temperature insensitive extension tube of aluminium or carbon fiber and a probe holder.
Details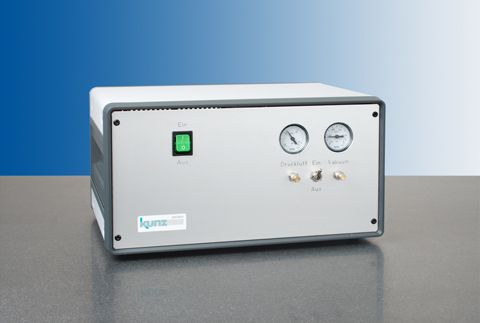
The air treatment unit SA 200 is used for cleaning and the regulation of the compressed air as well as to generate the required vacuum. A measuring interface and, depending on the application, a pressure monitoring are installed directly in the device. SA 200 is used, amongst other applications, for SQUARE-control and STRAIGHT-set.
Details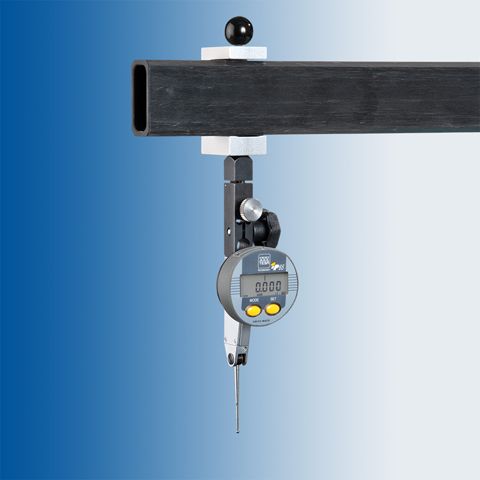
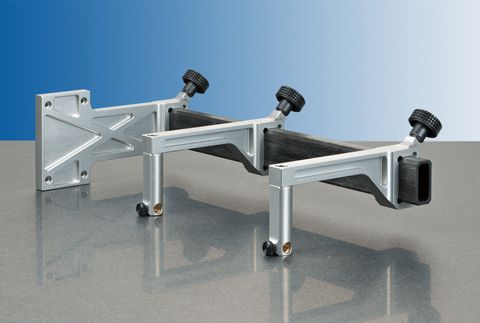
To perform a reliable reversal measurement, the squareness measuring devices SQUARE-control or SQUARE-master can be expanded with a carbon fibre probe extension.
Details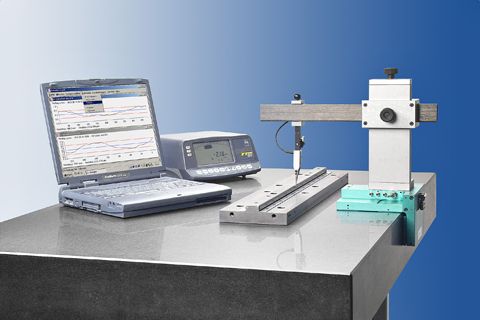
Developed as an efficient software-programme to calibrate reference angles and straight edges, STRAIGHT-soft is an indispensable aid in the measuring laboratory, the workshop or when carrying out measurements on geometry during acceptance of machinery. For testing straightness, parallelism and squareness.
Details